Blog
Mastering the Art: How to Apply Boat Rego Stickers Like a Pro
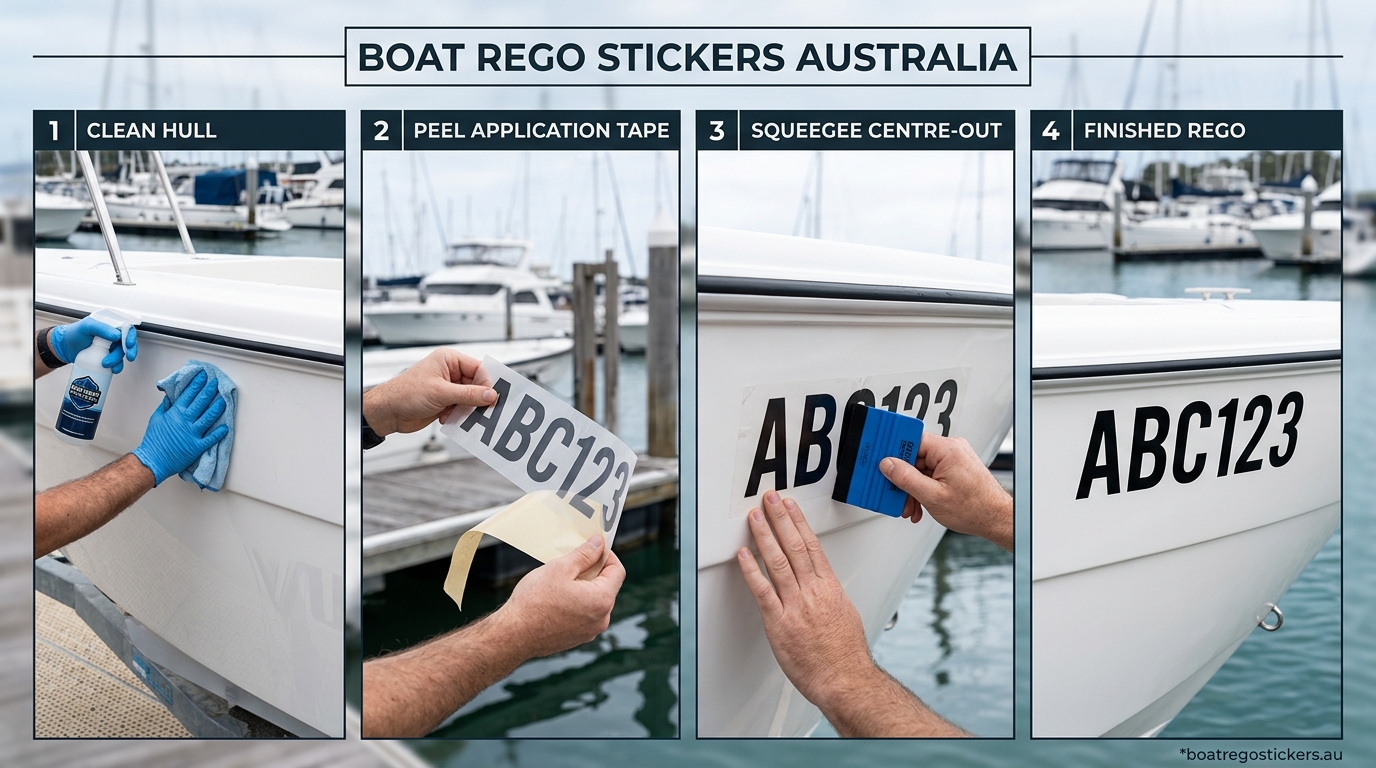
So, your new set of custom boat rego stickers has arrived in the mail. They look sharp, the colour is spot on, and you’re itching to get them on the hull before the weekend. But here’s the thing: putting on marine decals isn't just about 'peel and stick.' If you want them to stay put through salt spray, high-speed chop, and the Aussie sun, you need to follow a proper boat decal installation guide.
Preparation is Everything
Ask any pro and they’ll tell you the secret to a long-lasting decal isn't the glue—it’s the surface. You want that hull cleaner than a whistle. If there is old wax, salt crust, or grime on the gelcoat, your stickers will start peeling before you even hit the boat ramp. Use a mix of mild soapy water first, followed by a wipe-down with Isopropyl alcohol to strip any remaining oils.
The Gear You’ll Need
- Masking tape (for positioning)
- A boat registration sticker squeegee (included with our kits)
- A spray bottle with water and a tiny drop of dish soap (the 'wet method')
- A clean microfibre cloth
If you're unsure about the local rules before you start sticking, check out our guide on boat registration requirements in Australia to ensure your placement is legal.
Step-by-Step: The Dry vs. Wet Method
Most boaties prefer the 'wet method' because it’s more forgiving. It allows you to slide the sticker into the perfect spot before the adhesive bites. If you’re confident and working with a smaller set of jet ski rego stickers, the dry method works fine, but for 150mm+ boat numbers, water is your friend.
1. Position and Tape
Don't just wing it. Hold the decal up to the hull and use masking tape to create a 'hinge' along the top edge. Step back and look at it from a distance. Is it level with the gunwale or the waterline? Once you're happy, you're ready to peel.
2. The Peel and Spray
Flip the decal up using your tape hinge. Peel the backing paper away slowly, ensuring the vinyl stays attached to the clear application tape. Lightly mist the adhesive side of the vinyl and the hull with your soapy water solution.
3. Squeegee Time
Lay the decal back down against the hull. Starting from the centre and working your way out to the edges, use your boat registration sticker squeegee with firm, overlapping strokes. This pushes the water and air bubbles out from under the vinyl.
4. The Reveal
Wait about 10–15 minutes (longer if it's a cold morning) for the adhesive to grab. Slowly peel back the clear application tape at a sharp 180-degree angle. If the vinyl starts to lift, lay it back down and squeegee it again. For a deeper dive, read our full guide on how to apply boat rego stickers.
Common Mistakes to Avoid
One of the biggest blunders is applying stickers in the direct midday sun on a 35-degree day. The hull gets too hot, the adhesive goes 'tacky' instantly, and you'll struggle to get bubbles out. Aim for a shady spot or a cool morning.
Another tip: don't use window cleaners like Windex. Many contain ammonia or silicones that leave a film, which will eventually cause the edges of your custom boat registration stickers to curl up.
Final Touches
Once the tape is off, give it one final gentle wipe with a cloth. Avoid high-pressure washing directly over the new decals for at least 48 hours to let the ORAFOL marine vinyl fully cure to the surface. If you ever need to refresh your look, we have a handy resource on removing old boat stickers without damaging your gelcoat.
Ready to get your vessel sorted? Head over to our online sticker designer to create a compliant, professional set of numbers that are built to last in Australian conditions.